Saturday, April 10, 2010

Pizza!


So, I've never made pizza crust, or any delicious bread product for that matter and I figured, what the heck, I'll give it a try. I went to foodnetwork.com and found a recipe that got good reviews and seemed easy enough. I wound up going with a recipe from Tyler Florence. So internet, here's the recipe with my two cents added! Enjoy.

Pizza Dough

Ingredients
  • 1 package active dry yeast
  • 1 teaspoon sugar
  • 1 cup warm water
  • 1 tablespoon kosher salt
  • Extra-virgin olive oil
  • 3 cups 00 flour, plus more for dusting
Directions
  1. In the bowl of a standing electric mixer fitted with a dough hook, combine the yeast, sugar, and warm water; stir gently to dissolve. Let the mixture stand until the yeast comes alive and starts to foam, about 5 to 10 minutes. This took about 5 minutes to be complete (see the second picture below).
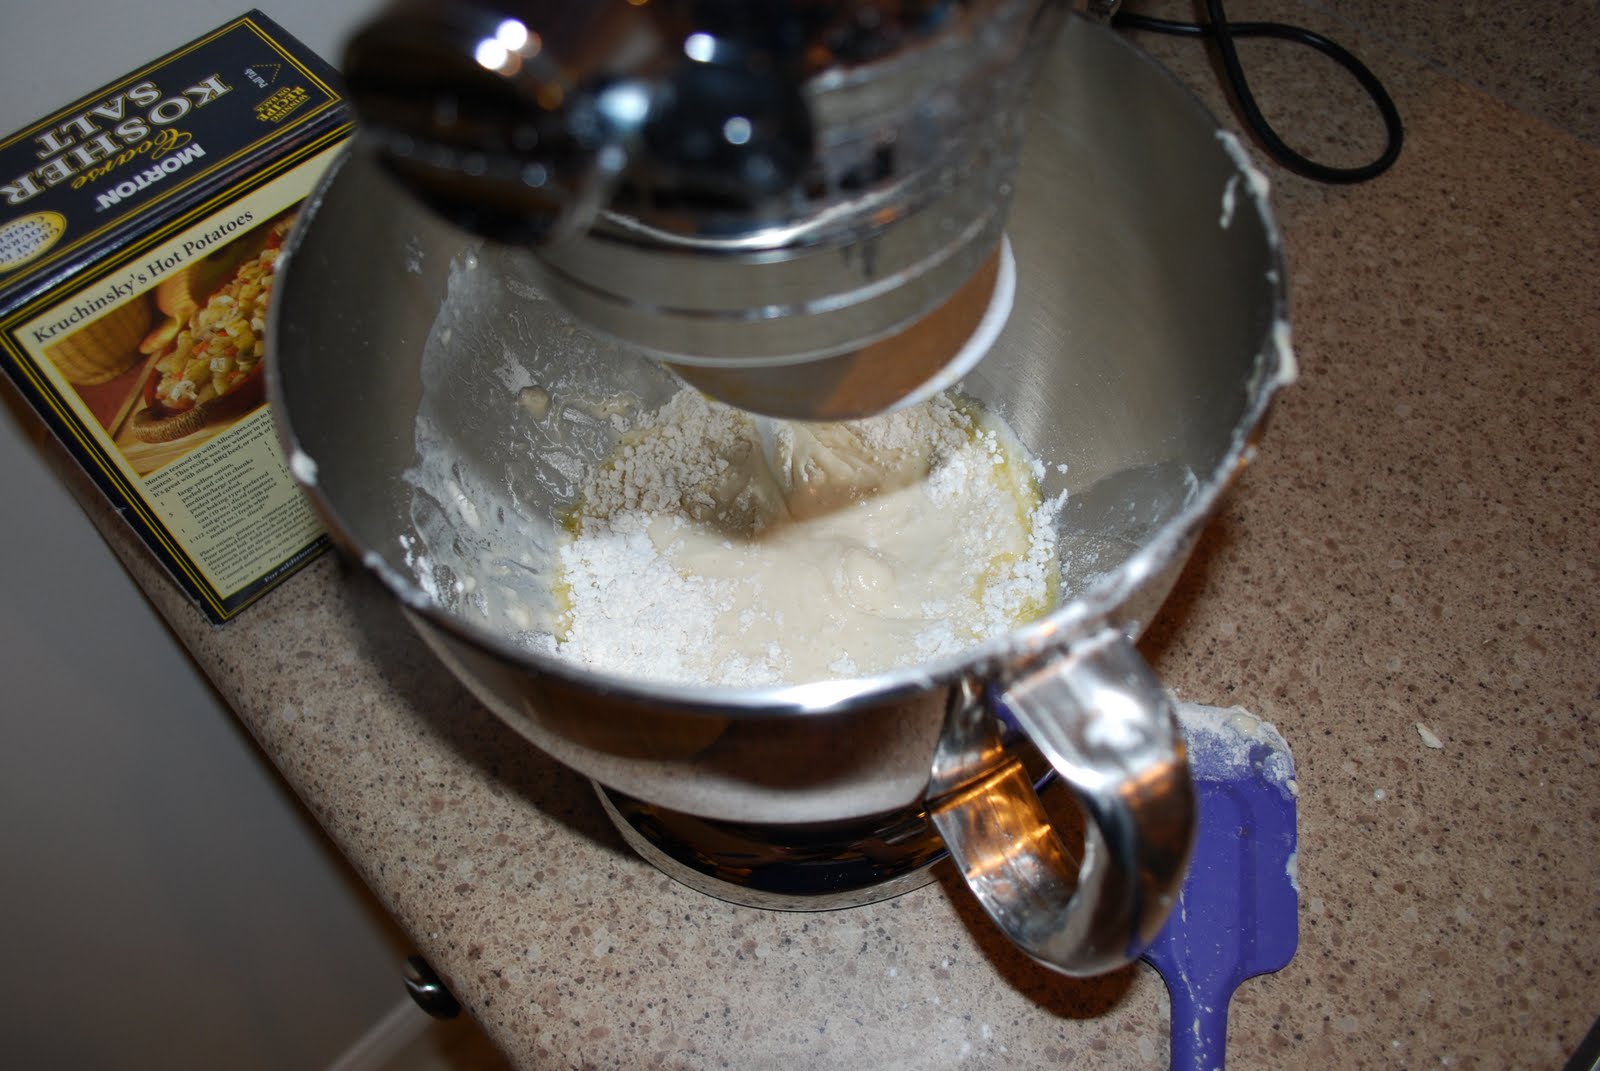
  2. Turn the mixer on low and add the salt and 2 tablespoons of olive oil. Add the flour, a little at a time, mixing at the lowest speed until all the flour has been incorporated. When the dough starts to come together, increase the speed to medium; stop the machine periodically to scrape the dough off the hook. Get a feel for the dough by squeezing a small amount together: if it's crumbly, add more water; if it's sticky, add more flour - 1 tablespoon at a time. Mix until the dough gathers into a ball, this should take about 5 minutes.
  3. Turn the dough out onto a lightly floured surface and fold it over itself a few times; kneading until it's smooth and elastic. Form the dough into a round and place in a lightly oiled bowl, turn it over to coat. Cover with plastic wrap or a damp towel and let it rise in a warm spot (i.e. over a gas pilot light) until doubled in size, about 1 hour. This is a good time to stick a pizza stone in the oven and preheat them to 500 degrees F.
  4. Once the dough is domed and spongy, turn it out onto a lightly floured counter. Roll and stretch the dough into a cylinder and divide into 3 equal pieces (I cut mine into 2 pieces). Cover and let rest for 10 minutes so it will be easier to roll out.
  5. Roll or pat out a piece of dough into a 12 inch circle, about 1/8-inch thick. Dust a pizza paddle with flour and slide it under the pizza dough. Brush the crust with a thin layer of olive oil, and top with your favorite flavors. Slide the pizza onto the hot stone in the oven and bake for 12 to 15 minutes, until the crust is golden and crisp. Repeat with the remaining dough.
  6. Add whatever ingredients you like and enjoy!

Sunday, March 28, 2010

Blueberry Scones with Lemon Glaze

Hello internet...today's recipe is a delicious recipe taken from Tyler Florence. The inspiration to make them came from a Saturday evening dinner with good friends of ours, Elena and Danilo. We hadn't seen them in a while, and since we're all quite broke, we decided to stay in and make dinner. They planned to have breakfast for dinner, which was fine by us! They made eggs, bacon, & hash browns. Our (myself and the boy) contribution were the scones...a nice finish to a more savoy dinner.

Scone Ingredients:
  • 2 cups all-purpose flour
  • 1 tablespoon baking powder
  • 1/2 teaspoon salt
  • 2 tablespoons sugar
  • 5 tablespoons unsalted butter, cold, cut in chunks
  • 1 cup heavy cream, plus more for brushing the scones
  • 1 cup fresh blueberries
Lemon Glaze Ingredients:
  • 1/2 cup freshly squeezed lemon juice
  • 2 cups confectioners' sugar, sifted
  • 1 lemon, zest finely grated
  • 1 tablespoon unsalted butter
Directions for Scones:
  • Preheat the oven to 400 degrees F.
  • Sift together the flour, baking powder, salt, and sugar.

  • Cube the butter into small pieces and make sure they are very cold. I put them in the freezer for a few minutes after I cut the pieces.


  • Cut the cold butter into the flour mixture using a pastry blender; coat the pieces of butter with the flour. The mixture should look like coarse crumbs.

  • Make a well in the center and pour in the heavy cream.
  • Gently fold everything together just to incorporate; do not overwork the dough.
  • Carefully fold the blueberries into the batter taking care not to mash or bruise the blueberries because their strong color will bleed into the dough.

  • Press the dough out on a lightly floured surface into a rectangle about 12" x 3" x 1 1/4".
  • Cut the rectangle in 1/2 then cut the pieces in 1/2 again, giving you 4 (3-inch) squares.
  • Cut the squares in 1/2 on a diagonal to give you the classic triangle shape.

  • Place the scones on an ungreased cookie sheet and brush the tops with a little heavy cream.
  • Bake for 15 to 20 minutes until beautiful and brown. Let the scones cool a bit before you apply the glaze.

Directions for Glaze
  • Mix the lemon juice and confectioners' sugar together in a microwave-safe bowl until the sugar dissolves.
  • Add the lemon zest and butter.
  • Microwave on high 30 seconds.
  • Whisk the glaze to smooth out any lumps, then drizzle the glaze over the top of the scones.
  • Let it set a minute before serving.
  • Note on the glaze: this recipe makes a lot of glaze, so you can safely half this recipe and still have plenty leftover!
I hope you enjoy this post! Cheers!

Chicken with mushrooms, peas, and pan cream sauce

Hello to my few followers and welcome to any new readers (I hope)! Tonight I am posting a dinner which I made last week based on a recipe from the Food Network Magazine (which I actually got offline from their website). They call it chicken with creamy mushrooms and snap peas, but I changed a few things here and there, thus the name change as well. The unchanged recipe can be found here, http://www.foodnetwork.com/recipes/chicken-with-creamy-mushrooms-and-snap-peas-recipe/index.html, but I'll walk you through how I made the dish.

Ingredients
  • 1-1.5 pounds of chicken breasts or cutlets
  • 1/2 onion minced
  • Garlic, to your liking, finely minced
  • 8-10 ounces (again to your liking) of baby bella mushrooms, quartered
  • 1 cup of frozen peas
  • 1 1/4 c. chicken broth (alternatively, you can use equal parts of white wine and chicken broth)
  • 3/4 c. heavy whipping cream
Directions
  • Salt and pepper both sides of chicken and saute in a pan with extra virgin olive oil (or whatever else that you have on hand such as veggie oil or canola oil) until golden brown and cooked through.

  • When chicken is cooked, remove to a pan and tent with foil. You can also keep the chicken loosely covered in a 200 Fahrenheit oven.
  • Meanwhile, in the same pan, add approximately 1 T of butter and add the onion and garlic and saute until softened and transparent.
  • Add the mushrooms and cook until mushrooms are soft. Add salt and pepper as needed at this point.


  • Once the mushrooms are reduced in size, soft, and browned, add the chicken broth (or wine if using) to de-glaze the pan, making sure to scrape up any brown bits with a wooden spoon. If using the wine/broth mixture, add the wine first, scrape up the brown bits, and then add the broth.

  • Cook until the liquid is reduced by half, which should be around 3-5 minutes.
  • Add the cream and boil until the sauce thickens, about 3-5 minutes longer.
  • Stir in the peas and heat through.

  • Add the chicken and any juices from the plate back into the pan and heat through. Salt and pepper to taste.
  • Serve with mashed potatoes!
Notes: this sauce re-heats well and when we had leftovers, I added some cut up asparagus to the recipe, which was a great addition for this spring time veggie.

Sunday, March 21, 2010

Candied Bacon Chocolate Chip Cookies

Hello internet :)

Since I have started this blog, I have started paying attention to other baking/cooking blogs. One blog in particular that I am a huge fan of is the Sticky, Gooey, Creamy, Chewy blog and as I was reading it the other day, I came across a recipe for Candied Bacon-Chocolate Chunk Cookies. Well, I was immediately intrigued, because I love the taste of salty and sweet together, so I decided to make them. Needless to say, they were quite interesting. They've been described as "delicious chocolate chip cookies, with a smack of bacon" (anyone that gets that reference gets bonus points). I used the candied bacon recipe from the above mentioned blog and used my own chocolate chip cookie recipe.

Candied Bacon

8 slices of bacon
1/2 cup of brown sugar, divided
  1. Preheat the oven to 400 F.
  2. Place the bacon on a cooking sheet lined with foil, shinny side down.
  3. Cover bacon pieces with half of brown sugar.
  4. Bake for 15 minutes.
  5. Take bacon out of the oven and flip; cover with remaining brown sugar.
  6. Bake until a deep mahogany color. Remove from oven and cool on a cooling rack.
  7. When cooled completely, chop into fine bits.
**Note: immediately move bacon to the cooling rack or else the sugar will harden the bacon to the foil.
I know they look burned, but they are not!


Chocolate Chip Cookies

2 1/4 c. flour
1 tsp. baking soda
1 tsp. salt
1 c. (2 sticks) of unsalted butter, soften
3/4 c. of granulated sugar
3/4 c. of brown sugar (plus a little bit more...probably about 1/8 c.)
1 tsp. vanilla extract
2 large eggs
2 c. milk chocolate chips
Candied bacon, finely chopped
  1. Preheat the oven to 375 F.
  2. In a medium sized bowl, combine flour, baking soda, and salt and mix thoroughly.
  3. Cream butter, sugars, and vanilla together until creamy.
  4. Add the eggs to the butter/sugar mixture one at a time and mix thoroughly.
  5. Gradually beat in the flour mixture until well combined.
  6. Stir in chocolate chips and bacon.
  7. Bake for 9-11 minutes until golden brown. Remove from oven and put on cooling rack.
  8. Eat and enjoy.


Finished Product!

Well, internet, enjoy these cookies if you decide to make them :) Look for Chicken with Mushroom Cream Sauce soon!

Friday, March 19, 2010

Chocolate Chip Banana Bread

Well...here I am...posting my first actual evidence of my baking prowess. HA!

I have to admit, the product turned out tasting great--moist, chock-full-o banana flavor, and delicious chocolatey goodness. In fact, there are two boys (well adults really, but put a sweet treat in front of them, and this is what you get) in my kitchen right now fighting over said bread as I type. However, my pictures of said prowess...well, they leave a lot to be desired, which I suppose is part of the learning process for a baking blog.

Any-who, the recipe is adapted from the baking book "A Passion for Baking" by Marcy Goldman. I just bought this book and I am in LOVE!!! Here is the recipe with the adaptations that I made.

1/2 c. unsalted butter, softened
1 c. sugar
2 large eggs
1 c. mashed very ripe banana
**For this, I just used two ripe bananas mashed--I didn't measure it out.


1/4 sour cream
**I used Greek yogurt instead


1 tsp. pure vanilla extract
**I used pure Madagascar vanilla...yummy
2 c. all purpose flour
1 tsp. baking powder
1/2 tsp. baking soda
1/4. tsp salt
**I use kosher salt
1 c. chopped walnuts
**I used 1 c. of milk chocolate chips instead.
  1. Preheat the oven to 350 F and spray a 9" x 5" loaf-pan with nonstick spray.
  2. In a mixer bowl, cream butter and sugar until well blended. Add eggs, banana, Greek yogurt, and vanilla. Fold in flour, baking powder, baking soda, and salt. Scrape bowl to ensure that the mixture is well blended. Add the chocolate chips and stir by hand.
  3. Pour batter into pan and bake for 50-55 minutes until bread springs back when pressed with fingertips.
  4. Cool for 2o minutes in the pan and then turn out onto a cooling rack.
*Note: I learned a great trick to quickly mashing your bananas...using a pastry cutter! Seriously...it's sooooo easy, so try it next time you need to mash something. This would even work well for making guacamole!
And...for the finished product...drum roll please!
Well folks, that's all for now. Remember, any hint or suggestions (especially for these pictures), please let me know!

Cheers!

Saturday, March 13, 2010

Hello.

Hello to anyone and everyone that has decided to take the time to read my blog. This is my first blog, and I am really excited to start blogging!

My main goal for this blog is to make it a food orientated blog, since I am a food lover. However, I may occasionally decide to write about something non-food related, depending on my mood!

The fact that I am a connoisseur of cuisine is quite funny, when you consider the fact that as a child, I was a horrifically picky eater and didn't enjoy anything with actual taste. I refused to eat pretty much anything that wasn't PB&J, mac and cheese (from a box, which I'll admit, I still eat to this day because it's not half bad), ice cream, candy, and cereal...seriously, those were the foods I remember liking best and wanting to eat the most.

Any who, I hope to fill my blog with delicious recipes, reviews of dishes I've had, restaurants I love, and good wines I've tried.

Since I am new to this, please feel free to shoot me an email with suggestions or make a comment on my posts!

I hope you enjoy my blog.

Slainte!
Taylor