Showing posts with label Dinner. Show all posts

Thursday, September 15, 2011

Beef Daube Provencal


Well lovely followers (or maybe just Talia), as you may or may not know, I love sweets (see my doughnut post here), so I do not blog as frequently about the non-decadent foods that I make.  However, in honor of my dear, sweet, loving grandmother celebrating another fabulous year on this earth, I had her over for a celebratory dinner the other day and made this lovely beef stew.  It was quite easy and well worth the (minimal) effort, so try it some time!  This recipe is courtesy of cooking light, so it is healthy, hardy meal that is good for the upcoming fall and winter evenings.
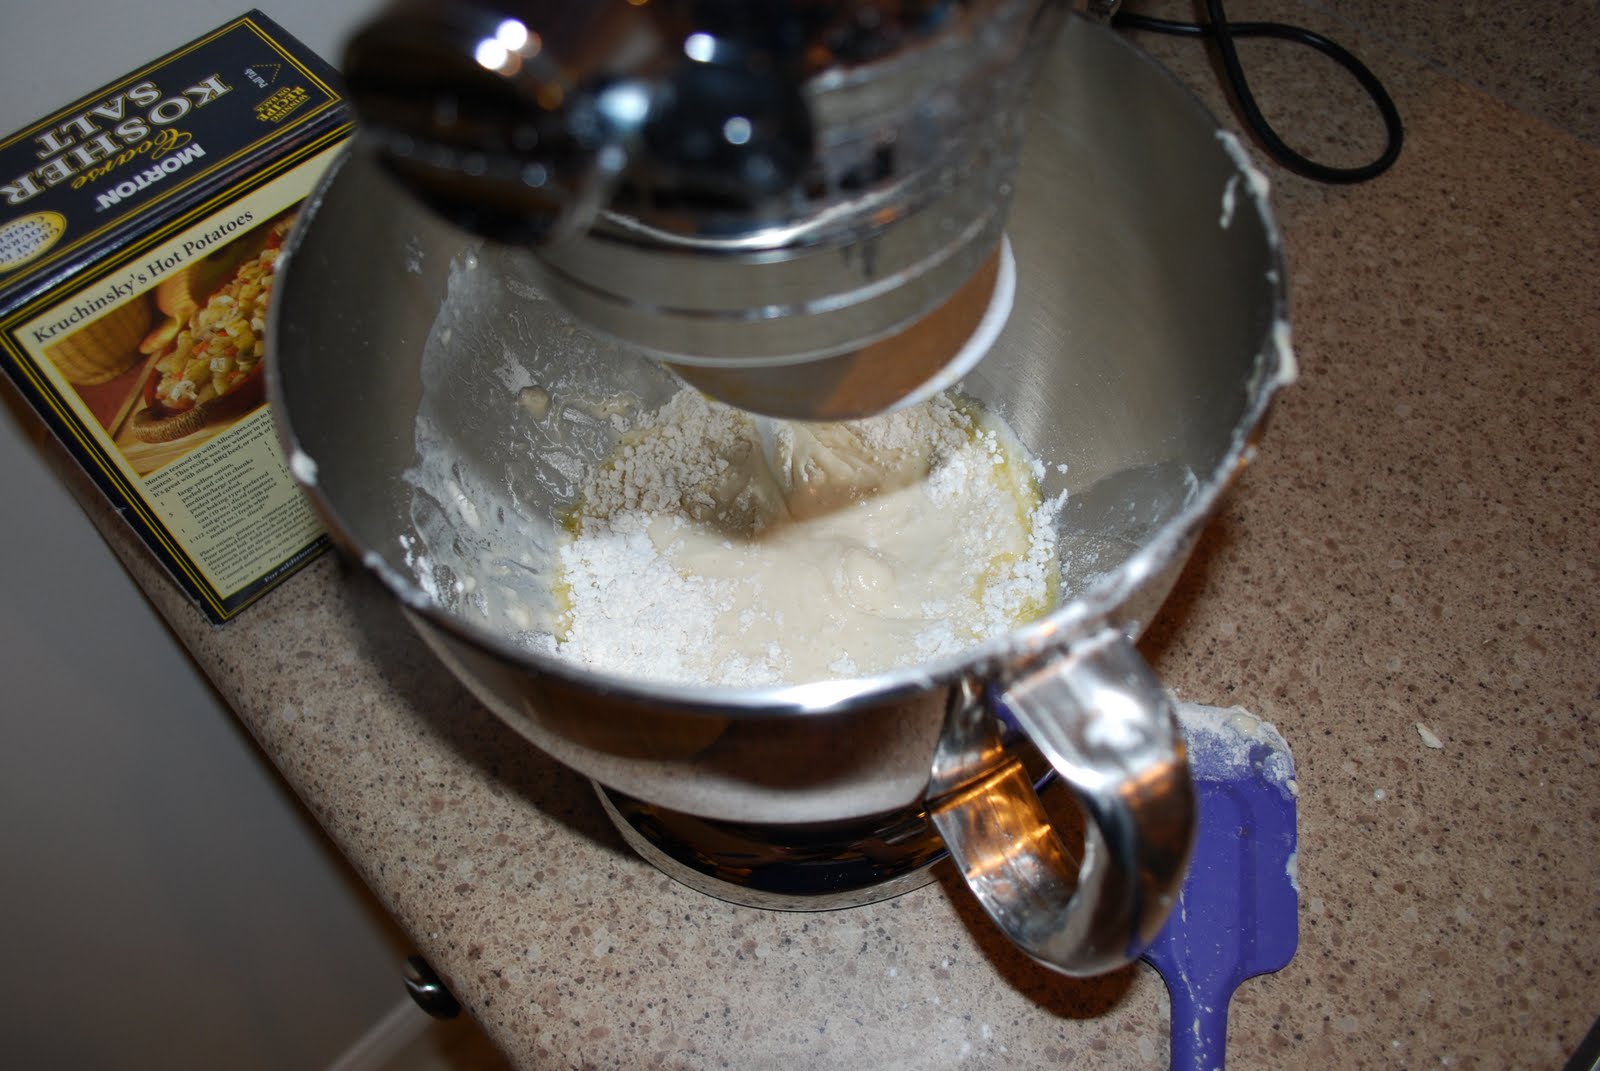
Your ingredients

Heat the oil and garlic until fragrant, then saute the meat until browned.

Remove the beef and deglaze the pan with the wine.  Add the beef back to the pot along with the remaining ingredients.  
Bring to a boil then cover and put in the oven for 2 1/2 hours.

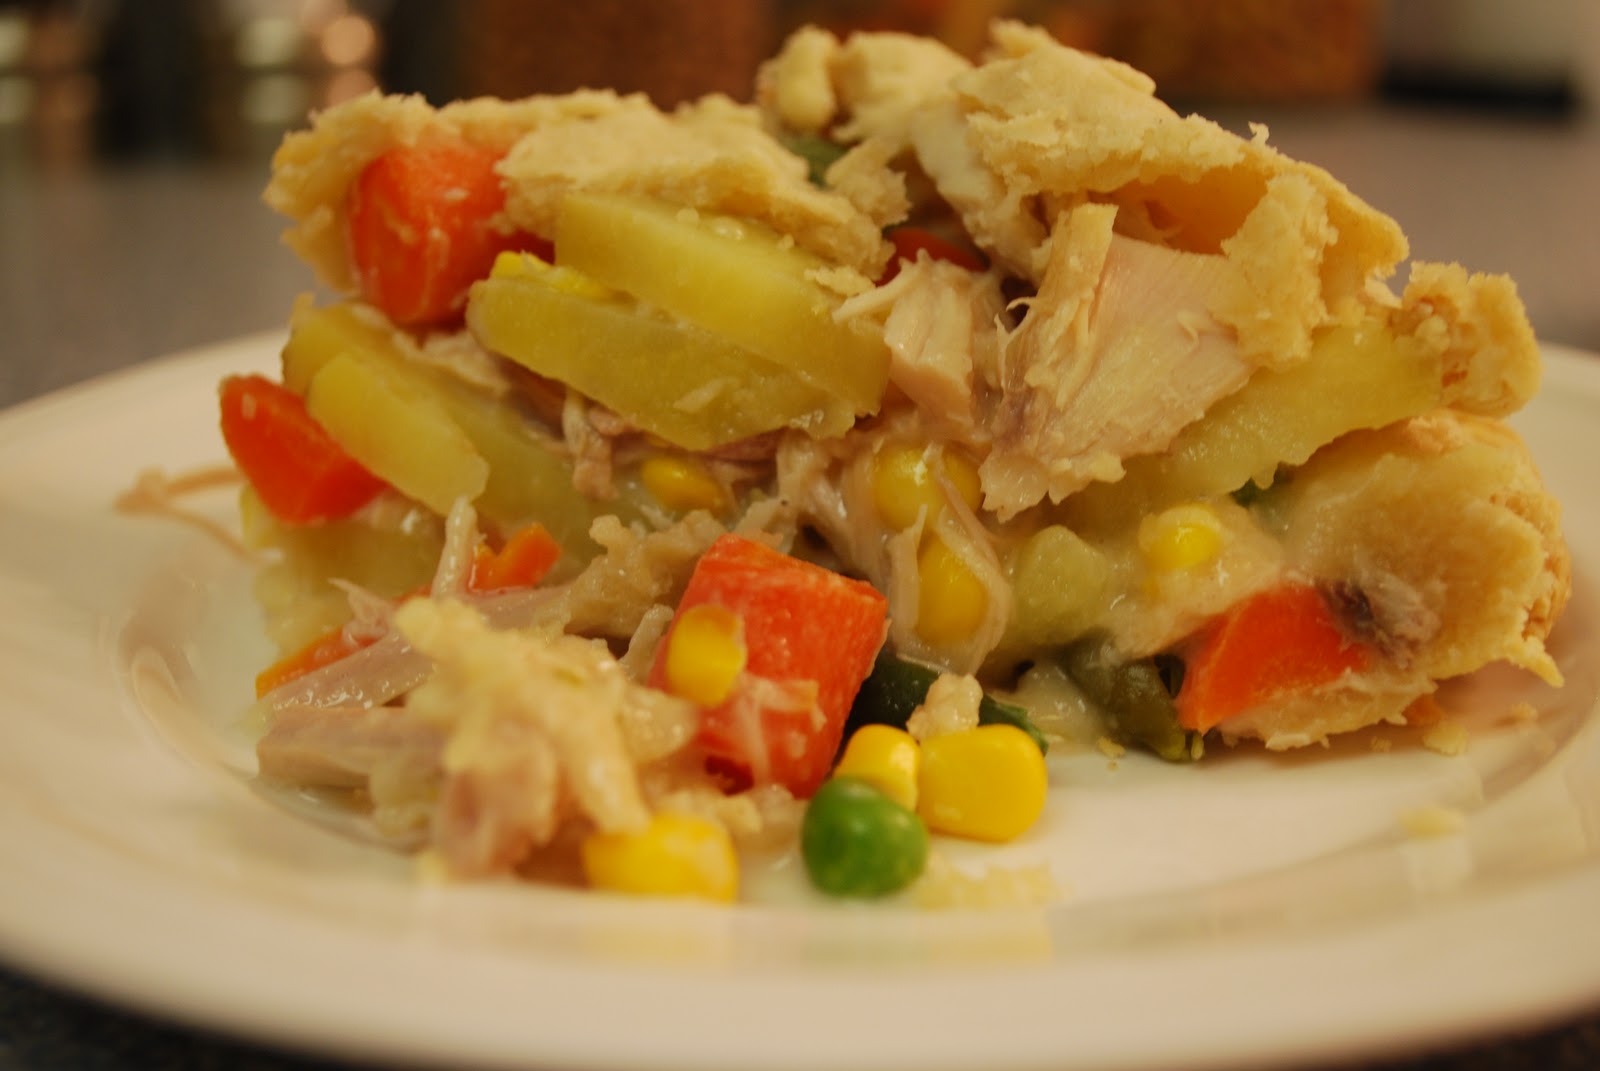
Your finished stew after 2 1/2 hours in the oven.

 Beef Daube Provencal
Ingredients
2 teaspoons of olive oil (I used extra virgin olive oil, which worked out well)
12 crushed garlic cloves
1 (2-pound boneless chuck roast), trimmed and cut into 2-inch cubes
1 1/2 teaspoons of salt, divided
1/2 teaspoon freshly ground black pepper, divided
1 cup of red wine (I used Merlot)
2 cups chopped carrots (I used 2 cups of baby carrots)
1/2 cup beef broth, low sodium (I used beef stock from Swanson)
1 tablespoon tomato paste
1 teaspoon chopped fresh rosemary (I omitted this because the store was out)
1 teaspoon chopped fresh thyme
Dash of ground cloves
1, 14.5 ounce, can of diced tomatoes, undrained
1 bay leaf
**I also added portobello mushrooms to this dish and they turned out nicely**

Directions
1.  Preheat the oven to 300F.
2.  Heat the oil in a dutch oven or heavy bottom large pot over low heat and add the crushed garlic; heat for ~5 minutes until fragrant.  Remove garlic from pan and set aside.
3.  Turn the heat up to medium-high and add the beef to the pan.  Sprinkle the beef with 1/2 teaspoon of salt and a 1/4 teaspoon of pepper.  Cook for a total of 5 minutes, browning the beef on all sides.  Remove beef from pan and set aside.
4.  Deglaze the pan by pouring the wine into the pan, bring to a boil, and scrape up the brown bits from the bottom of the pan.
5.  Add the garlic, beef, and remaining ingredients to the pan and bring to a boil.
6.  Cover and bake at 300 F for 2 1/2 hours.  Discard the bay left and serve.  I served this dish with mashed sweet potatoes and steamed broccoli.  You could also serve it over egg noodles or rice.  It would also pair nicely with a squash, which are coming into season soon!

Enjoy!

Sunday, June 5, 2011

BBQ Ribs!


So, once again, I'm embarrassed to admit that it's been entirely way too long since my last post.  Ugh.  However, last weekend, my good friend made these delicious BBQ ribs and I thought to myself, self, you can do this too!  You see, in the past, ribs have scared me.  I've had some good ribs in my life time (Gale Street Inn anyone?) and I thought to myself, why bother when you have places that will do the heavy lifting for you?  Well, MK inspired me and gave me the BBQ sauce recipe that she used and told how she made the ribs, and so after making them today, here they are!  Enjoy.

I used the following recipe quite closely, but next time, I'll definitely make some changes to the BBQ sauce, or perhaps I'll try a different sauce recipe.  

Recipe Modifications
This recipe is heavy on the onion flavor, so if you don't like onions, go a bit lighter on the onion.  For instance, don't use 1/2 cup of onion to saute, use a 1/4 of a cup.  In addition, cut the onion powder down to a 1/4 teaspoon, rather than a 1/2 teaspoon or omit it completely, which is what my friend did.  Also, you can use a sweeter onion, like a Vidalia.  

I like my BBQ sauce to be a bit on the sweeter side, so I added extra brown sugar at the end, once the sauce was reduced completely.  Add as much or as little as you like. 

BBQ Ribs

1.  Cut 1 slab of pork ribs in half.  This makes them easier to handle once they are on the grill.

2.  Sprinkle with a small amount of salt and a generous amount of cayenne pepper and black pepper. 

3.  Wrap them in foil packets and bake at 300 F for 2.5 hours.


4.  Here are the ingredients for the BBQ sauce.


5.  Combine all the ingredients in a medium sauce pan and bring to a boil.  


6.  Once boiling, reduce heat and bring the BBQ sauce to a simmer.  Simmer uncovered for about 1 1/4 hours until it's reduced. 


7.  Place on grill on direct heat and generously brush with BBQ sauce.  Heat until sauce is caramelized, but not burnt, unless you like that!

8.  Enjoy with summer favorites like grilled corn on the cob, sweet tea, baked beans, etc!  

I hope that you enjoy these ribs as much as my family and I did.

Friday, February 11, 2011

Turkey Pot Pie


So, I realize that I suck at this whole blogging thing.  Like my fiance says, bloggers start out strong, blogging daily or weekly and then give up after a while.  The funny thing is, I make all these things and take pictures of them but never get around to posting them.  Anyway, after way too much time, here's a post (finally)!

I used left over turkey from Christmas that I threw in the freezer for use another time.  I based my recipe on a chicken pot pie recipe from Paula Deen that can be found here.  The crust recipe was from Ina Garten and can be found here.  I did modify both of the recipes, which you can read!

Turkey Pot Pie Filling Modifications
1.  I roasted the carrots and potatoes as per the instructions, except I added extra virgin olive oil to the salt and pepper-they were delicious and I'd consider doing this in the future as a side dish that would go with a meal.

2.  I didn't have frozen peas, so I used a frozen veggie medley from trader joe's that included corn, carrots, green beans, and peas.  Because it had corn it in, I reduced the amount of frozen corn used and increased the amount of the mixed veggies.  It doesn't really matter what kind of veggies you use, as long as it equals the same total amount (1 1/4 cup).
3.  I didn't want to use heavy cream for health reasons, so I just used the milk I have at home, which was 1%.  It turned out okay, but I wouldn't suggest using skim milk--it would wind up being too runny.
Pie before baking!

Perfect Pie Crust Modifications
1.  I used two sticks of butter instead of 1 1/2 cups of butter and 1/3 cup of vegetable shortening.  I try to avoid using that product in general.  Otherwise I kept everything else the same.

Needless to say, the pie turned out great and the crust was SO GOOD.  I'll probably stay with this crust recipe for all my pie options! 

Pie after baking-look at that delicious crust!

Look at that filling!
I hope you enjoy this pie as much as I did.  Also, this recipe could be modified anyway you'd like it to be-it could be vegetarian or chicken and any combination of veggies can be used.

Enjoy!


Thursday, September 2, 2010

Homemade Pasta!


Well folks, Pat and I have the homemade pasta bug, which we acquired at a cooking class we took together on my birthday.  Basically making pasta is soooo easy, and it's fun (it's actually quite novel), so why not make some for yourself?  We (read: Pat) has been really, really, really wanting to make pasta at home since the class, and we finally did it (hey, it only took me about 2 weeks after the class to get the motivation to make the pasta)!

You don't necessarily need a pasta roller, to make pasta.  In fact, our teacher told us that the person who taught him to make pasta was an old Italian immigrant that lived in the Bronx; she used to make pasta everyday, roll it out by hand with a rolling pin, and hang it around her house to dry.  I have this very romantic image of this little old Italian woman in the bronx making pasta by hand...it really makes you appreciate the art of making food, like truly creating food for love, not just to stuff ourselves silly.  

Anyway, if you have a pasta roller, it does make the processes a lot easier.  The recipe for making pasta is ridiculously easy.  The one we used is from The Chopping Block...enjoy!

Your ingredients

Blend all ingredients 
Dough Ball
Roll out the dough.
Cut your pasta and enjoy.

Ingredients
2 cups unbleached all-purpose flour
1/4 cup semolina
3 eggs
1-2 tablespoons water

Directions
1.  Place the dry ingredients in the bowl of a food processor.
2.  Add eggs and 1 tablespoon of water; process until well combined.
3.  Test dough to make sure it will hold together.  If it is dry, add up to a tablespoon more water as needed to make the dough moist, but not sticky (I used 2 tablespoons of water).
5.  Wrap the dough tightly in plastic and allow it to rest at least 20 minutes.
6.  Roll out pasta in a pasta roller until smooth, then roll into sheets and cut into desired noodles.**
7.  Plunge pasta into rapidly boiling salted water, cook until tender, about 2 minutes, and serve at once with your favorite sauce.
8.  If you do not want to use right away, the pasta can be frozen, or laid straight to dry.

**To use a pasta roller: start by cutting dough ball in half.  Flatten one edge of dough ball to run through pasta roller smoothly.  After the dough has gone through one time, fold it into thirds to make a straight edge to run through the roller with the open edge feeding through the roller first (see photo below-excuse the blurriness).  Run thru the roller until you can seal the edges into a large loop.  Run the loop of dough through each size on the roller at least twice until the desired thickness.  Make sure to use enough flour to prevent sticking.  At this point the noodles can be cut by the machine or by hand. 


Homemade Spaghetti! 


Saturday, April 10, 2010

Pizza!


So, I've never made pizza crust, or any delicious bread product for that matter and I figured, what the heck, I'll give it a try. I went to foodnetwork.com and found a recipe that got good reviews and seemed easy enough. I wound up going with a recipe from Tyler Florence. So internet, here's the recipe with my two cents added! Enjoy.

Pizza Dough

Ingredients
  • 1 package active dry yeast
  • 1 teaspoon sugar
  • 1 cup warm water
  • 1 tablespoon kosher salt
  • Extra-virgin olive oil
  • 3 cups 00 flour, plus more for dusting
Directions
  1. In the bowl of a standing electric mixer fitted with a dough hook, combine the yeast, sugar, and warm water; stir gently to dissolve. Let the mixture stand until the yeast comes alive and starts to foam, about 5 to 10 minutes. This took about 5 minutes to be complete (see the second picture below).
  2. Turn the mixer on low and add the salt and 2 tablespoons of olive oil. Add the flour, a little at a time, mixing at the lowest speed until all the flour has been incorporated. When the dough starts to come together, increase the speed to medium; stop the machine periodically to scrape the dough off the hook. Get a feel for the dough by squeezing a small amount together: if it's crumbly, add more water; if it's sticky, add more flour - 1 tablespoon at a time. Mix until the dough gathers into a ball, this should take about 5 minutes.
  3. Turn the dough out onto a lightly floured surface and fold it over itself a few times; kneading until it's smooth and elastic. Form the dough into a round and place in a lightly oiled bowl, turn it over to coat. Cover with plastic wrap or a damp towel and let it rise in a warm spot (i.e. over a gas pilot light) until doubled in size, about 1 hour. This is a good time to stick a pizza stone in the oven and preheat them to 500 degrees F.
  4. Once the dough is domed and spongy, turn it out onto a lightly floured counter. Roll and stretch the dough into a cylinder and divide into 3 equal pieces (I cut mine into 2 pieces). Cover and let rest for 10 minutes so it will be easier to roll out.
  5. Roll or pat out a piece of dough into a 12 inch circle, about 1/8-inch thick. Dust a pizza paddle with flour and slide it under the pizza dough. Brush the crust with a thin layer of olive oil, and top with your favorite flavors. Slide the pizza onto the hot stone in the oven and bake for 12 to 15 minutes, until the crust is golden and crisp. Repeat with the remaining dough.
  6. Add whatever ingredients you like and enjoy!

Sunday, March 28, 2010

Chicken with mushrooms, peas, and pan cream sauce

Hello to my few followers and welcome to any new readers (I hope)! Tonight I am posting a dinner which I made last week based on a recipe from the Food Network Magazine (which I actually got offline from their website). They call it chicken with creamy mushrooms and snap peas, but I changed a few things here and there, thus the name change as well. The unchanged recipe can be found here, http://www.foodnetwork.com/recipes/chicken-with-creamy-mushrooms-and-snap-peas-recipe/index.html, but I'll walk you through how I made the dish.

Ingredients
  • 1-1.5 pounds of chicken breasts or cutlets
  • 1/2 onion minced
  • Garlic, to your liking, finely minced
  • 8-10 ounces (again to your liking) of baby bella mushrooms, quartered
  • 1 cup of frozen peas
  • 1 1/4 c. chicken broth (alternatively, you can use equal parts of white wine and chicken broth)
  • 3/4 c. heavy whipping cream
Directions
  • Salt and pepper both sides of chicken and saute in a pan with extra virgin olive oil (or whatever else that you have on hand such as veggie oil or canola oil) until golden brown and cooked through.

  • When chicken is cooked, remove to a pan and tent with foil. You can also keep the chicken loosely covered in a 200 Fahrenheit oven.
  • Meanwhile, in the same pan, add approximately 1 T of butter and add the onion and garlic and saute until softened and transparent.
  • Add the mushrooms and cook until mushrooms are soft. Add salt and pepper as needed at this point.


  • Once the mushrooms are reduced in size, soft, and browned, add the chicken broth (or wine if using) to de-glaze the pan, making sure to scrape up any brown bits with a wooden spoon. If using the wine/broth mixture, add the wine first, scrape up the brown bits, and then add the broth.

  • Cook until the liquid is reduced by half, which should be around 3-5 minutes.
  • Add the cream and boil until the sauce thickens, about 3-5 minutes longer.
  • Stir in the peas and heat through.

  • Add the chicken and any juices from the plate back into the pan and heat through. Salt and pepper to taste.
  • Serve with mashed potatoes!
Notes: this sauce re-heats well and when we had leftovers, I added some cut up asparagus to the recipe, which was a great addition for this spring time veggie.